How we size a patio
Square footage is the wrong place to start. Start with the furniture and the way you move through it, then measure what that needs. A dining table wants three feet of chair pull-back on every side, and a walking route past seated people wants four.
| What it has to hold | Rough size | Area |
|---|---|---|
| Bistro table, two chairs | 10' × 10' | 100 sq ft |
| Dining for six | 14' × 16' | 224 sq ft |
| Dining for eight, plus a grill | 16' × 20' | 320 sq ft |
| Dining, lounge seating and a fire feature | 20' × 28' | 560 sq ft |
If the patio sits off a set of doors, we also hold a clear landing at the threshold so the door swing never crosses a chair.
What it costs
Ranges below are installed prices covering excavation, disposal, base, bedding, the units themselves, edge restraint and polymeric jointing. They're honest middles, not teaser numbers.
| Build | Installed, per sq ft |
|---|---|
| Concrete paver, simple rectangle, single colour | $28 – $36 |
| Concrete paver, curves, blended colours, steps | $36 – $48 |
| Natural bluestone, dry-laid on base | $55 – $72 |
| Natural bluestone, mortar-set on a concrete slab | $75 – $95 |
| Common additions | Typical cost |
|---|---|
| Bluestone step, per riser | $900 – $1,600 |
| Seat wall with cap, per linear foot | $180 – $260 |
| Fire pit, built in place | $3,500 – $7,000 |
| Low-voltage lighting, per fixture installed | $180 – $320 |
Choosing a pattern
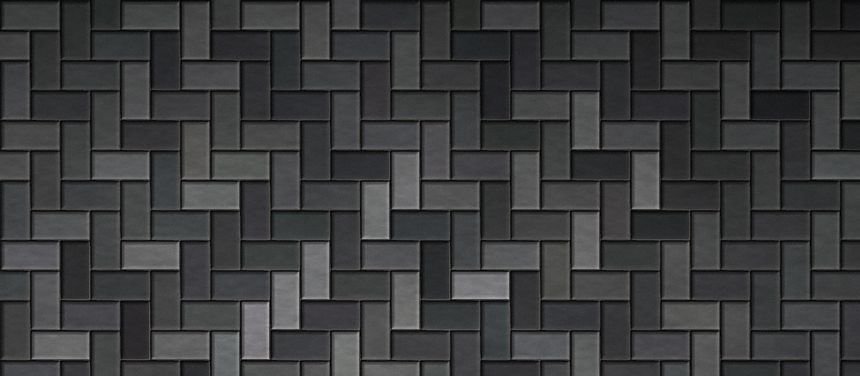
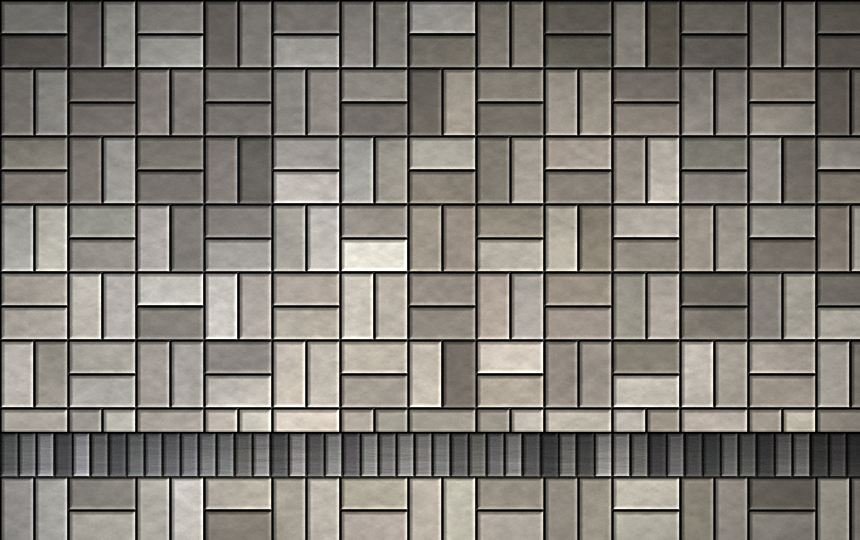
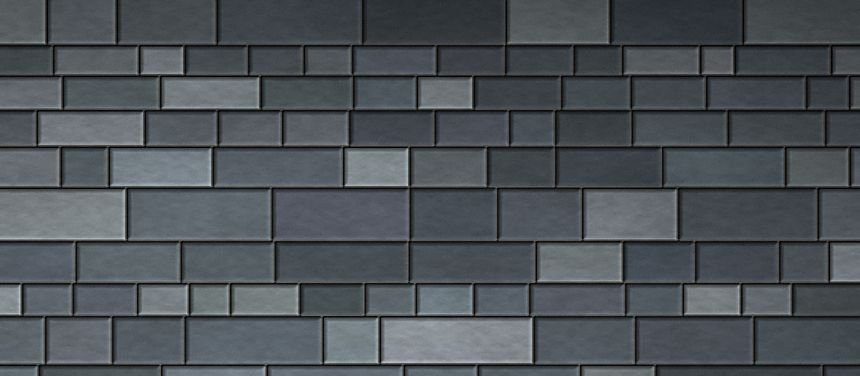
Pattern is not only a look. Herringbone interlocks in two directions and resists movement better than anything else, which is why it's the only pattern we'll lay under vehicles. Running bond is calmer and reads larger. Basketweave suits smaller, more traditional spaces. Random ashlar is the natural-stone look and takes the most cutting.

The build, day by day
A 600 square foot patio is five to eight working days with a four-man crew. The sequence doesn't compress: each stage depends on the one above it being finished properly.
- Day 1 — utilities located, layout painted, excavation begins.
- Days 1–2 — dig to subgrade, 12 to 14 inches below finish, spoil hauled off.
- Days 2–3 — geotextile, then base stone in three lifts, each one compacted.
- Day 4 — bedding course screeded to an eighth of an inch per foot of fall.
- Days 4–6 — field laid, perimeter cut, soldier course set.
- Day 7 — edge restraint, polymeric sand, tamp, wet in.
- Day 8 — grades checked with you, site cleaned, warranty registered.
Living with it
Sweep it, rinse it, and re-sand the joints roughly every four to six years depending on how much you pressure-wash. Sealing is optional; it deepens colour and helps with oil and leaf staining, but it needs redoing every three to five years and an unsealed patio is not a failing one. Ice melt should be calcium chloride, never rock salt on natural stone. If a paver ever gets damaged, individual units lift out and swap in — which is the quiet advantage of pavers over a poured slab.
See it built
A 640 square foot
terrace in Chatham
Fourteen inches of excavation over old fill, and four winters later there isn't a low spot in it.
Next step
We'll mark it out on your lawn
No charge, no obligation, and you'll have a fixed price within four days of the visit.
Book a layout & estimate →